Thursday, August 28, 2014

Progress

We are slowly but steadily making progress.  This week was the start of school for all of us, and things just got a little crazy. The floor is finally tiled and I love it! I wanted my bathroom to have a vintage feel to it so I decided to go with small black and white hex tiles.


Lights are in! I found these school house fixtures on a trip we took to Boise this summer, and I knew I had to have them for my bathroom.


I also added some to my closet.

This will hang off of a beam we made for the center of the room. I have always wanted a hanging fixture in my bathroom.


Can't wait to blog about this project. We decided to make our own wood counter top for the vanity. I think that with everything white, light, and shiny in the bathroom it adds a nice balance. We are working on tiling the shower and grouting everything this weekend. More progress to come! Pin It

Wednesday, August 13, 2014

It's gray and I love it!


Yay my walls are painted and I love the color! It is a soft gray tone with a touch of blue in it. I spent the day last week painting my wainscoting white, and I love the contrast of the two colors. I love trim, and I love it painted white. Just plain, clean white. The white I always use is ultra white from Behr right off the shelf, in a satin finish.  I find for myself that if the white is more of an off white, it tends to look dirty to me.


We picked two medicine cabinets in an oil rubbed finish for above our sinks. I am one who does like medicine cabinets. I have been living without them for three years now, and I have missed having all of my toiletries just above me ready to use. I love the storage it offers to a bathroom space. Just above my hubby built some beautiful trim I need to paint so we can install the lights.


Speaking of lights, I am giddy about this light we picked out for the center of the room. I love being able to have a pretty light in my bathroom. We are building a beam for it to hang on that matches the wood counter tops we are going to build. Can't wait to start that process. That is next, then tile, and then my favorite... all the finishing touches. So excited! Pin It

Friday, August 8, 2014

Adding some character


We are making progress! We took out the tub and installed wainscoting on the wall. Instead of having a jetted tub, we decided to go with a free standing claw foot tub. I love adding touches like wainscoting to a room. It makes the home feel like it has some extra character and history. I also painted some color samples on the wall. The color I am going with is the lighter gray blue. Silver sage from Restoration Hardware. I think it is going to pop against the white color underneath. I always get samples of the colors I want to paint and paint some on the wall. I live with them for a few days and see how the color changes in the light. It is a lot easier than painting the whole room then deciding if we like the color or not. Painting is next! My favorite part. Pin It

Thursday, August 7, 2014

New master bath project


I am so so excited. I am moving on to the next project! We have officially started our master bathroom. Things are cleared out, colors are picked, and I am ready to get to work. Can't wait to show the progress! Pin It

Tuesday, June 24, 2014

Hello

Just popping in with a fun, quick project I did to brighten up my porch for summer. I was out and about at the Hobby Lobby and came across this fun easle that was on sale. It was screaming to go on my front porch.
I have wanted to do a sign for my porch for a while, but I didn't have room to hang anything anywhere. I grabbed this easle, and went to work on my silhouette. I knew I just wanted something simple, yet a little fun and modern looking. My son actually came up with the idea of using a chevron print, and I wanted it to just say a simple Hello.
I decided to give it a pop of apple green since everything on it was so black and white. So fun, and it is not permanent. I can change it up, put it in a room in my house, or just keep it how it is. The vinyl will peel right off when I am done with it.


Here is how it looks on the porch. Yes, I know, I need to fix the flags so they are centered. Crazy wind. Pin It

Thursday, June 19, 2014

Chicken Alfredo Pizza..fast...easy...Yum!

Today I am posting a fun family recipe that is so dang easy to make. The best part, the kids love it, my hubby loves it, and I love it because it is so fun and easy to make. Win win! Perfect for a summer night.

Chicken Alfredo Pizza
Pizza crust (either your favorite recipe from scratch or refrigerated dough)
4 boneless chicken breasts cooked and diced
3 heads of broccoli chopped and cooked
1 bottle Alfredo sauce
2 cloves of garlic
Mozzarella cheese
Preheat your oven to 450 degrees. Roll out your dough and cook for five to ten minutes. The crust doesn't have to be totally cooked, but just started. While the dough is cooking, cut up your pieces of chicken into cubes and cook them in a pan adding the garlic, and salt and pepper to taste. Cut up you broccoli and place it in a sauce pan.  Cover with water cooking until tender. Take the pizza crust out of the oven and spread the alfredo sauce on top. Sprinkle the chicken, broccoli, and top with mozzarella cheese. Put them in the oven and bake for another five to ten minutes until golden brown on top. So good...so easy.
This recipe usually makes two pizzas. Pin It

Tuesday, June 17, 2014

Painting cabinets


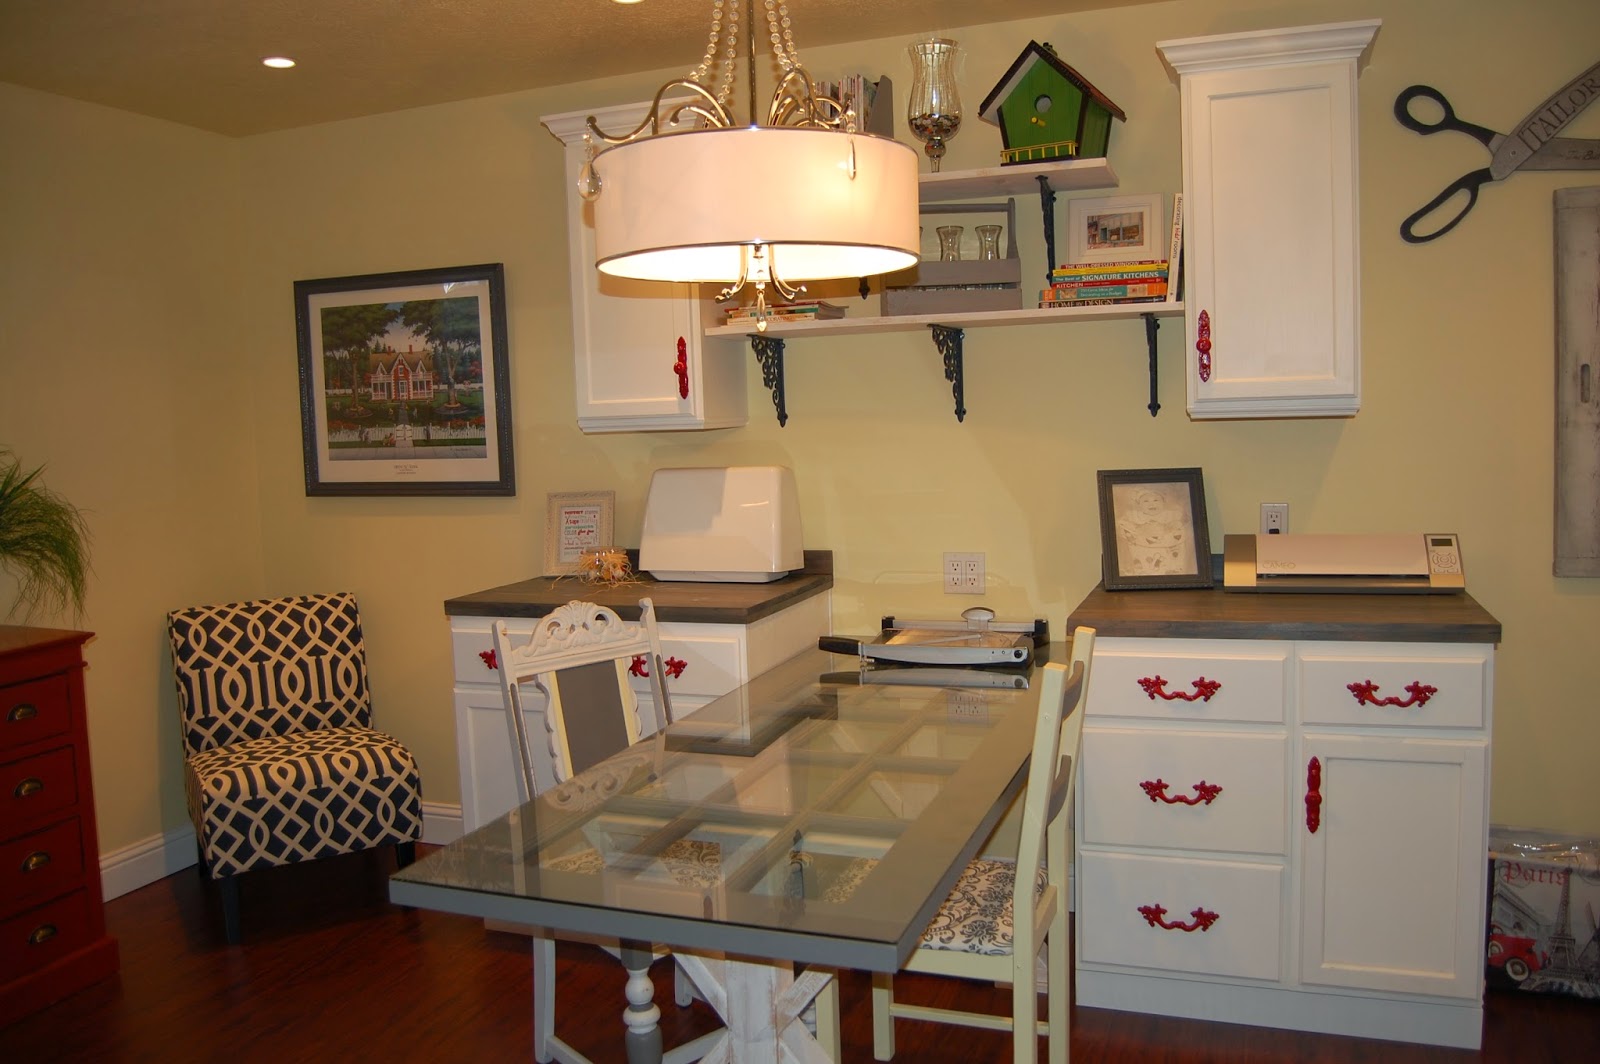
I recently had the opportunity to teach a class about furniture and cabinet painting and re finishing. This was such a fun topic to talk about. Finding old and dis-guarded furniture and giving it new life is what I love doing most. My family jokes with me that besides my piano, no piece of furniture is safe around here. It is true.  What better way to transform a room than to give the pieces in that room some new life. If you can do that for just a few bucks worth of paint....even better right.  Here are some fun tips and tricks I have learned along the way through my own trial and error that I want to share.
First I am always asked how I prep the furniture that I am going to paint. Let's say I am doing a kitchen full of cabinets. With so many doors and drawers, sanding each one seems like a way daunting task. I have found a product that I use not only on my cabinets, but the furniture both wood, or already painted.
I first remove my cabinet doors and all of the hardware laying them on cardboard large pieces of cardboard. I love painting on cardboard because you don't get the goop on the sides of the doors you get when you lay them on plastic. Then I look at the cabinets and see if there are any spots that need actual sanding or if there are any holes to be filled with putty.  After that is done I take a clean rag and wet it with the sander deglosser and go to work wiping them down.  The great thing about this product is that it both cleans and sands your cabinets. Two steps in one. Next I prime the cabinets with Zinnser primer. 
http://www.320sycamoreblog.com/2012/01/how-to-paint-kitchen-cabinets.html


This is the primer I love using. They have many types of primer, but I this oil base primer works great. You can still paint water based paints over it. I brush on the primer, doing two coats, and sanding between each coat.  After the cabinets are primed, I move onto paint. I always have just used regular satin finished wall paint from Lowes or Home Depot. I paint two coats, usually using a foam roller. This has always given me the desired finish that I am trying to achieve. When I am painting my cabinet doors, I always start painting the backs first, then when they dry, usually overnight, I flip them over to do the front. I do not install them back onto the cabinets until giving them a good 24 hours of drying time. I never fully shut my cabinet doors or drawers for a week after painting them. If you want to sand the edges for a more distressed finish, always wait at least a week before sanding them. 
While looking for ideas on pinterest, I came across this inventive idea from This Old House. pro secrets for painting kitchen cabinets - like this hanging technique

They said they drilled two small hooks on the back of the doors, painted one side, flipped them over, painted the other side and hung them to dry on hangers. http://www.thisoldhouse.com/toh/how-to/step/0,,20315665_20696254,00.html
When your cabinets are done, don't forget the hardware. Nothing transforms cabinets or a piece of furniture than the knobs. I love to take chunky knobs and spraying them a fun glossy color.

It adds such a pop of personality to the room. It is amazing how some work and some paint can give a room new fun life.
Pin It