Showing posts with label my projects. Show all posts

Wednesday, June 10, 2015

DIY wreath


We just finished our upstairs hallway and I have been having fun decorating and adding some accessories. I bought this hook originally to hold pictures, but I decided to put it in the hall and hang a wreath on it.  I wanted something simple and without a lot of color. I looked all over for a wreath I liked, but I couldn't find one. School is out and I have some extra time, so I decided to make one instead.


I found these fun burlap flowers at JoAnns and I was excited. I am not fond of silk flowers, so these were just right for me.


I got a grapevine wreath and cut the flowers to the length I wanted using wire cutters.


I used some florist wire to connect the flowers to the wreath. I did not use hot glue so if I change my mind down the road and want to switch it out, I can.


I added just a few flowers and leaves just on one side and it was done. Seriously easy, inexpensive and a quick afternoon project.


Pin It

Monday, May 4, 2015

Molding...tons of molding!


There has been a lot of work going on in our home the past few weeks.  Lots and lots of painting! I love adding wainscoting to a room, but it is a lot of work.  Cutting, sanding, caulking, priming, and painting two coats of white. But it is worth it! Here is a peek of how some of the rooms are coming along.
Here is the family room the day we moved in.  I am so so so over brown!

We took out the harth and added some molding around the fireplace.


We spray painted the brass grills on the fireplace and painted the whole wall white.


This is our dining room the day we moved in. I was so excited to have a dining room, but not one that looked like this!

We added some wainscoting to the bottom.


I painted the bottom half white, then it was ready for some color!


I went for red. I have always wanted a red dining room. I got rid of the antler chandelier, and hung a pretty crystal one instead.


Here is my living room the day we moved in.  Surprise, brown and boring!


We added some wood.


Painted it white....


and added some color! It gave the room a ton of character.

The last spot we added some wainscoting to was the upstairs stair landing.

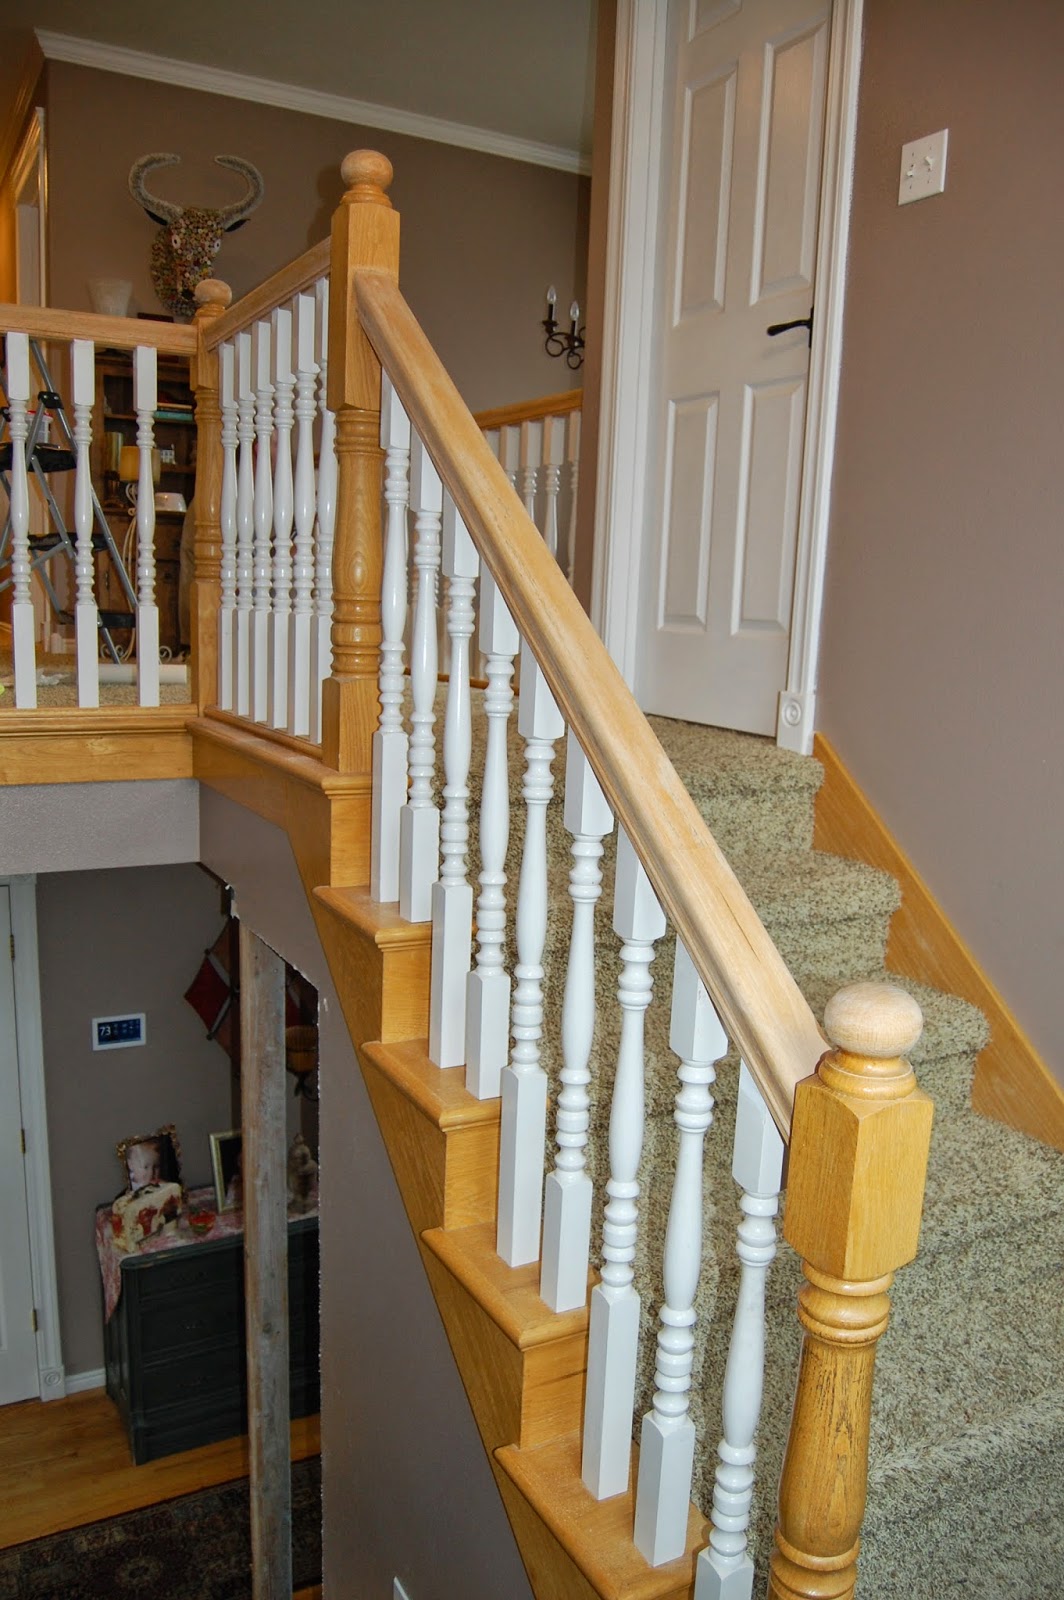
We already re-finished the stair railings, and just by adding some molding, and a fun new light fixture, I have a totally fun, modern and updated space.
We still have a ton of work to do, but it is so fun watching everything come together and finally become something we love. Pin It

Friday, March 27, 2015

Accent walls

We have still been working on finishing the main floor wainscoting this past week. We have the fireplace wall done...not painted, but framed out, and I love it!
It started out a plain wall with just backer board nailed to it.  We then measured, measured again, and measured again until we came up with the right dimensions for the molding. We ripped four inch MDF boards, measured again, and cut them to fit.
Once the boards were ripped and cut we started assembling.  It went pretty quickly at that point.
We decided to trim around the fireplace with two inch boards.  I want the wall to have a clean look to it, so I decided to not have any stone or tile around the fireplace.
This is how it looks today.  I love the results.  We are going to caulk it, add crown and base moldings, then paint the whole thing white. I am going to add a wood mantle to it once the painting is done.
I think this added just the right amount of character to this room.

I love feature walls, they quickly become my favorite thing in a room.  I have been using a lot of molding, and light colors in this house, but I have painted a lot of feature walls in my other homes using bold pops of color.
This was a wall in my other home. We didn't use molding on that wall, but I used paint colors. I measured out the squares, taped them off, then picked my color pattern I wanted to use.  It was fast, affordable, and fun.  I just used those sample paints you can get at Lowes for three dollars each and went to work.  I love the molding, but there are a lot of other alternatives to do if you want to add a little personality to a room just by using paint.

Pin It

Monday, March 16, 2015

My fun clock project

About twelve years ago my hubby built me a clock for Christmas. I love this clock, and have been looking for the perfect place to put it in our home.  After we got the wood done in the upstairs hall, we decided the natural spot for the clock would be in the hall.  I was so excited, the only problem was the paint color.


The color that I had painted it matched the rooms in our old home, not this one.  I am keeping the hallway pretty neutral, just black and white photos, even the chair in the landing is black and white. I knew I wanted a pop of color.  You can see the clock from the downstairs entry so I needed it to also match the colors I am painting in my downstairs rooms.  I decided on my favorite butter yellow color.  I had a can outside in my paint cabinet, so I could paint the clock for free!  I took the door off, all the hinges, and the clock face out of the front.  I painted the mat around the clock face a dark gray color to match the yellow and walls better. By the way...painting picture mat is super easy and totally works!


It turned out great, it was an easy project to do, and with just a little more accessorizing it will be ready to go! Pin It

Tuesday, March 10, 2015

Wood


We have finished installing the wood upstairs. It looks amazing, and I am excited! Everywhere except the bedrooms has wood floor and it opens up the space making it feel warm and spacious. I chose a engineered acacia wood floor. I love the dark floors and light walls.


It has been a lot of work...especially for my husband...but I am loving the results! Pin It

Monday, March 2, 2015

How I re finished my stair railings

We've been busy around here lately. After we got the downstairs wall demo'd we started working on the stair railings. I knew the look I wanted, and knew it would take a lot of work. The original railings were a light oak and white. We are putting a dark acacia wood on the floor, so I wanted the top of my railings to match.  We decided that instead of just painting the whole railing, we would try stripping off the varnish and stain and try re staining the wood. We used a citris stripper we found at Home Depot.
WM Barr 73803 CITRISTRIP® Paint & Varnish Stripping Gel - 1/2 Gallon
We painted it on the wood top, waited the recommended time, and scraped the finish right off. It took a lot of elbow grease, but it worked great.
Here is a picture of the stripped wood. Between the citristrip and a lot of sanding, everything came off and the wood was ready to stain. I only stripped the hand rail. We decided to paint the rest white.
Here's how it looks after we got the darker stain on it. I used a minwax stain and finished it with a rub on semi gloss polyurethane. That was the easiest part of the project. Next I got to work painting everything else.
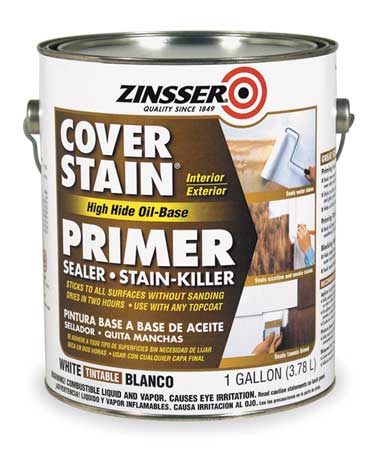
I just painted everything else with my ultra pure white wall trim I use on all the trim in my house. I did do a first coat of zinsser primer just to guarantee the paint stayed on and did not chip. All in all with the primer, the railings got three coats of paint.


It was a lot of work, but so worth it.  I love how just by staining and painting, the railings got such a great update. Pin It

Thursday, January 15, 2015

Another painting project

I did a lot of painting in my bedroom. One of my favorite pieces that I painted was actually my bed side table or cabinet.
I can't believe I didn't take a before picture. I was in such a hurry to get my room done, I just grabbed a paint brush and went to work. This piece use to be black everywhere. It even had black wooden knobs.  I painted it the same white as the fireplace and trim with my satin trim paint. I took an electric sander and distressed the heck out of it.  I found these great knobs in Shelley and was actually going to use them on my book shelf. When I held them up to it, I knew that they were perfect. We weren't sure if we were going to use this old piece or find something new, but after I painted it and put on the knobs I knew it was just right for this space. This dresser actually took me only a couple of hours, but it gave great impact to this room and I love it! Pin It

Wednesday, January 14, 2015

Giving things new life


I love finding items and giving them new life. Creating something with them to use them a different way than was intended. It is a fun creative outlet.  This project was actually my hubby's idea. We had bought this lantern at Hobby Lobby to use as an accessory on a shelf in our room. We were looking for a lamp for our night stand and decided this would work great as a lamp.  With a little drilling and electrical it became a lamp just like that. 


Another fun idea is to re purpose old windows or doors as picture frames. I found a window that fit 8x10 mats to display some pictures in our room.  I used wrapping paper I got from Tai Pan for the other panes. Easy, easy, easy way to display pictures in a room or hallway.
Re purposing things adds fun and creativity to any space. It is also a fun and economical way to use and recycle old items. 
Pin It

Monday, January 12, 2015

Master bedroom reveal

I am so excited to show my finished master bedroom. This was a fun transformation for us. Things came together easily, and I love the change the room gave to my home.
Here are the before pictures.


This room was a blank canvas. It had cream walls, an awful ceiling fan, and no personality. So we transformed the space.


We painted the room the same color as the bathroom, painted the molding of the ceiling a paint color two shades lighter and painted the trim the ultra bright white we used through the whole house. We took down the crown molding and created some lower molding, installing LED lights behind it to light the ceiling at night. I got rid of the ceiling fan and found this great orb light that matches the style of chandelier used in our bathroom. I re purposed and painted a lot of items in the room. I love using things that have meaning, especially in personal spaces like bedrooms.  Re using what you have and re purposing things just to fit a particular space helps add personality and character to the room. We love how this room turned out. The color is so calming, and it is a perfect space to relax in at night. Pin It

Thursday, January 8, 2015

My Ikea hack

So here I am again posting another fun thing from our bedroom. This is my first Ikea hack, and I am excited to share it. When we were first designing our room, we wanted some book shelves to go on either side of our fireplace.
I found these at Ikea. They were just standard bookshelves stained a cream color. I knew I needed to paint them since the white clashed so bad with the white in my room.  So we went to work painting them....the first time. A beautiful shade of deep gray.

Notice, the gray is only on the insides.  We did not use any primer or liquid sand the first time, and after we painted the paint just peeled off the surface.  So we had to scrape everything off and start over. Not fun at all! For the second time around we decided to use zinsser primer...which I knew about....which I have used before...which I was stupid not to use the first time. Do not forget this step! It worked great.


When we took the bookcases into the room and put them next to the fireplace we decided that they didn't work there. We decided to screw them together like a hutch and place a piece of molding down the middle.  I took off the original backs and installed some V board to give the inside a more custom look.  I decided that since they were together and would be such a large piece in the room I wanted to paint them white and leave the inside gray.


The zinsser worked, the paint stuck the second time just fine, and I loved the way they looked in the room.


My husband added some lights the top inside, some glass shelves so the lights would shine through, and some crown molding on the top.  We also found some fun knobs to go on the drawers.  I am not going to lie, this was a lot of work, but way worth it.  I love how it makes the room feel comfortable. I love to read, and having my books in my room makes me smile every time I look at it. Pin It